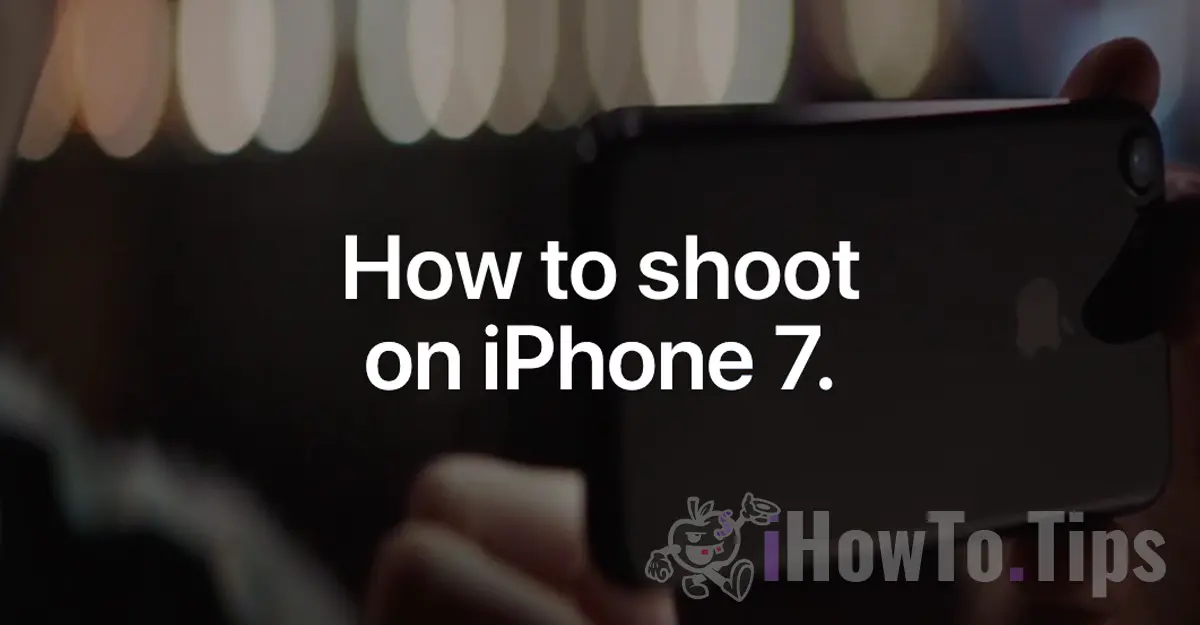
One of the most important features for which you buy an iPhone or other smartphone is the quality of the photos the device is capable of. In this article, you will find some tricks presented by Apple, where you can see how you can take quality photos with the iPhone 7 using the native Camera app.
Apple published some time ago a set of video tutorials showing step-by-step how to properly use the camera on the iPhone 7, for quality photos.
Table of Contents
How to take quality pictures with iPhone 7 Plus in portrait mode
When you want to take a successful photo of a person, it is best to use the "Portrait" mode. So, select the "Portrait" mode from the Camera application, then set the "Depth Effect" (unfortunately the "Portrait”Is only available on iPhone 7 Plus). When the “Depth Effect” and the yellow square on the screen appear yellow, it is a sign that you can press the capture button to capture a perfect portrait.
Video Tutorial: How to shoot a great portrait on iPhone 7 Plus
How to take a quality photo of a pet (cat, puppy)
In the video tutorial, those from Apple they chose a close-up photo of a puppy for their demonstration. Let's be honest, animals are the hardest to capture in pictures, especially when they're full of energy. For a clear, quality close-up photo of a cat or a puppy, you first need to have fairly strong and natural ambient light. On a sunny day, the outdoors is the perfect setting for a quality pet photo.
You need to get within 10cm of the subject of the photo, tap the screen to focus on an area, then pull the sidebar to set the exposure. Exhibits. Shoot! You will get quality pictures with iPhone 7 if you choose the optimal brightness.
Video Tutorial: How to shoot close-up on iPhone 7
How to take a vertical panoramic picture?
A great way when we want to capture in a picture a tall statue, a monument, a tree or any other photo subject whose height we could not normally fit in a picture. "PANO" (Panorama) mode is normally used for horizontal pictures, but it is equally effective for vertical (tall) pictures. Hold the iPhone in landscape (horizontal), stabilize the subject you want to capture in the image, select the "PANO" mode and press the shooting button! Carefully follow the vertical balance line to achieve a quality picture.
Video Tutorial: How to shoot a vertical Pano on iPhone 7
How to take quality pictures without flash with iPhone 7 or iPhone 7 Plus
For quality photos with the iPhone 7, flash is not necessarily needed, even when the light is low. Pictures taken in the evening or at night in low light always have a special charm, especially when they are clear and taken without flash. To be able to capture a quality picture, we must consider: the angle with the best light, the flash off and press the subject for automatic exposure setting.
Video Tutorial: How to shoot without a flash on iPhone 7
How to take action pictures? Burst mode in iPhone 7 or iPhone 7 Plus
Want to take quality pictures while jumping into the sea or diving into the snow? The simplest solution to choosing the most successful frames is to take pictures in bursts. Hold down the shutter button for the duration of the action, then select only the picture or pictures you like. The rest will be deleted automatically.

Video Tutorial: How to shoot action on iPhone 7
How to take selfie with timer using main camera
I don't think there is an iPhone owner who hasn't taken a selfie at least once. What's more, there are studies that show that for many people, the selfie has become a mania. There are people who even take hundreds of selfies in a single day.
Most selfies are taken with the help of the front camera, but despite the improvements made by smartphone manufacturers, the main camera still remains the best performer. For this reason, a quality selfie should be taken with the help of the main camera. For this, we will have to choose after how long after pressing the button the picture will be taken. We have two preset times: every 3 seconds or every 10 seconds.
Video Tutorial: How to shoot a selfie with the timer on iPhone 7
Mostly, these would be the main technical methods by which we can take a quality picture using the default camera of the iPhone 7 or iPhone 7 Plus. In addition, we also need to have a little inspiration. Let's choose the best light (expose), choose the optimal angle to highlight the subject, and last but not least... let's have a suitable "subject", like the one in the next picture.

Apple iPhone 7 back camera 3.99mm f/1.8 - Model: Șoricel.