Few users explore the true capabilities of iPhone devices to the fullest, even though some of them are really useful in many situations. One of the most interesting capabilities is the one that allows you to scan documents with your iPhone without having to install any app.
With the native Files utility on all iPhones, you can scan as many documents as you want in high resolution, save them as PDFs, or share them with anyone you want.
How to scan documents with iPhone
The process of scanning documents with the help of the Files app is very simple if you follow the steps below:
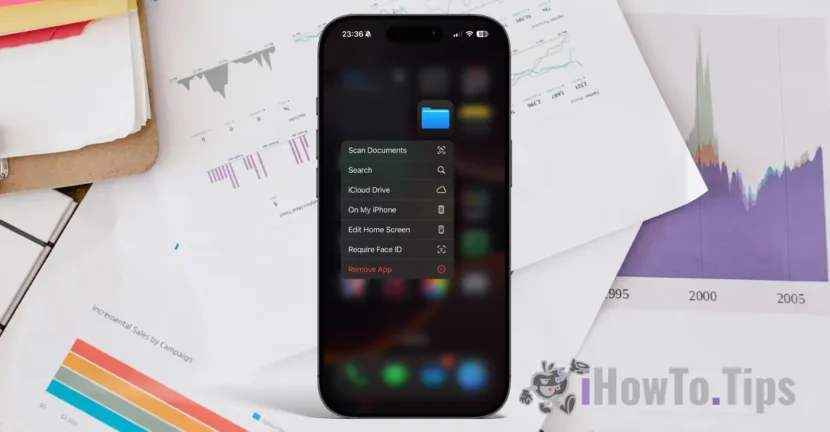
1. Unlock your iPhone, then press and hold the Files utility until the context menu opens.
2. In the context menu, tap on the "Scan Documents" option.
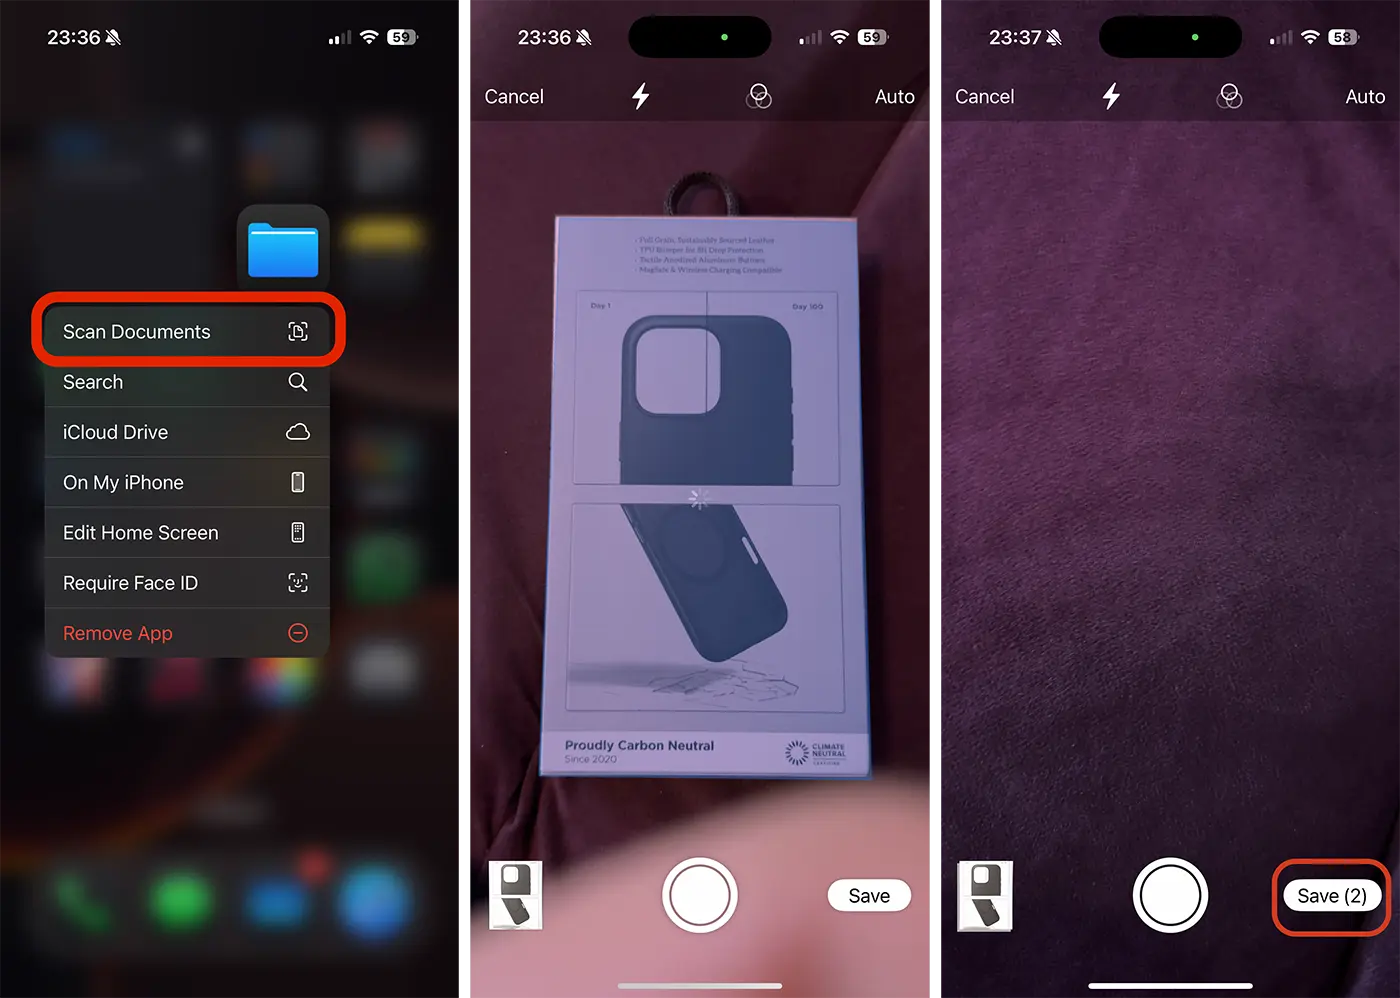
3. Point the Camera at the document you want to scan and place it in the scan field.
Scanning and capturing will be done automatically (in Auto mode), every time the camera identifies a document that can be scanned. Thus, you can very quickly scan several documents by simply pointing the camera at them.
4. Save the scanned documents on the storage space of your device or in your iCloud account.
The "Save" button at the bottom right will tell you the total number of documents that will be saved.
In the image below are the exact steps that need to be followed to scan documents with the Files app on your iPhone or iPad devices.
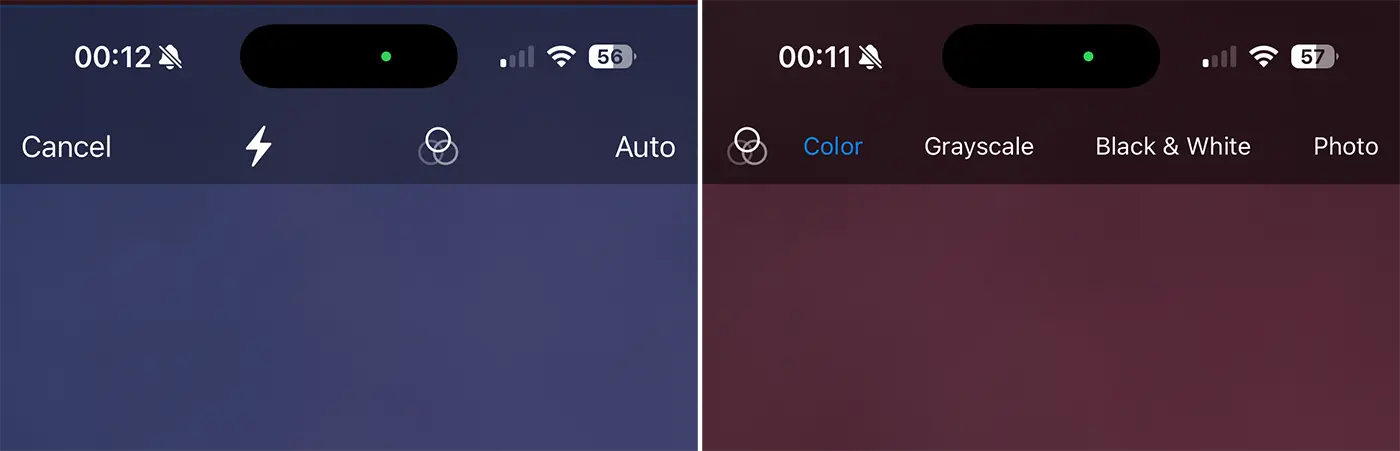
During the document scanning process, you can re-scan a document if it has not been captured correctly. You can also choose to scan documents in color, grayscale, black and white, or photo format.
Bonus Tips: How to copy text from a photo on iPhone or Mac
This is a very simple and effective method with which you can scan documents with your iPhone or iPad and save them in PDF format without having to install third-party applications.