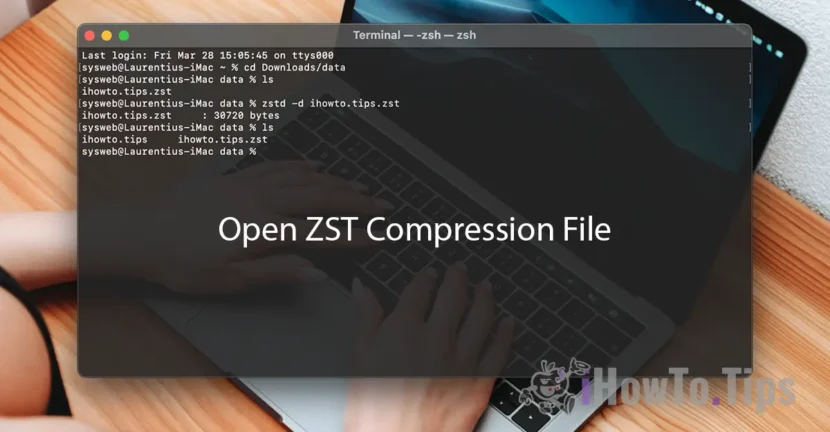
Homebrew is a package manager essential for Macos (and Linux), which simplifies the installation, updating and management of the software directly from the command line. If you need applications or libraries that do not come pre -installed in the operating system, a good idea is to install homebrew on macos, then through the command lines you can install everything you need. For example, if you want to dislike files .zst, on Macos there is no native application to do this. But you can install zstd Through Homebrew, which will help you disappoint .zst files by order line.
Popular among developers, designers and technology fans, Homebrew eliminates the headaches related to manual discharge or solving complicated addictions. Inspired by Linux package management systems, as apt or yum, Homebrew brings this flexibility and power to maccos, allowing you to configure your work environment exactly as you want.
Let's see step by step in this tutorial, how you can install Homebrew on Macos and how to use it completely.
Table of Contents
How do you install Homebrew on macos - tutorial with images and command lines
1. Instalarea Xcode Command Line Tools
Although you do not need xcode itself to use Homebrew, certain programs and components that you will want to install depend on the XCODE Command Line Tools package. XCODE is an integrated development environment (IDE) that includes a series of tools for software development on macos.
To download and install these components, run the following command in the terminal:
xcode-select --install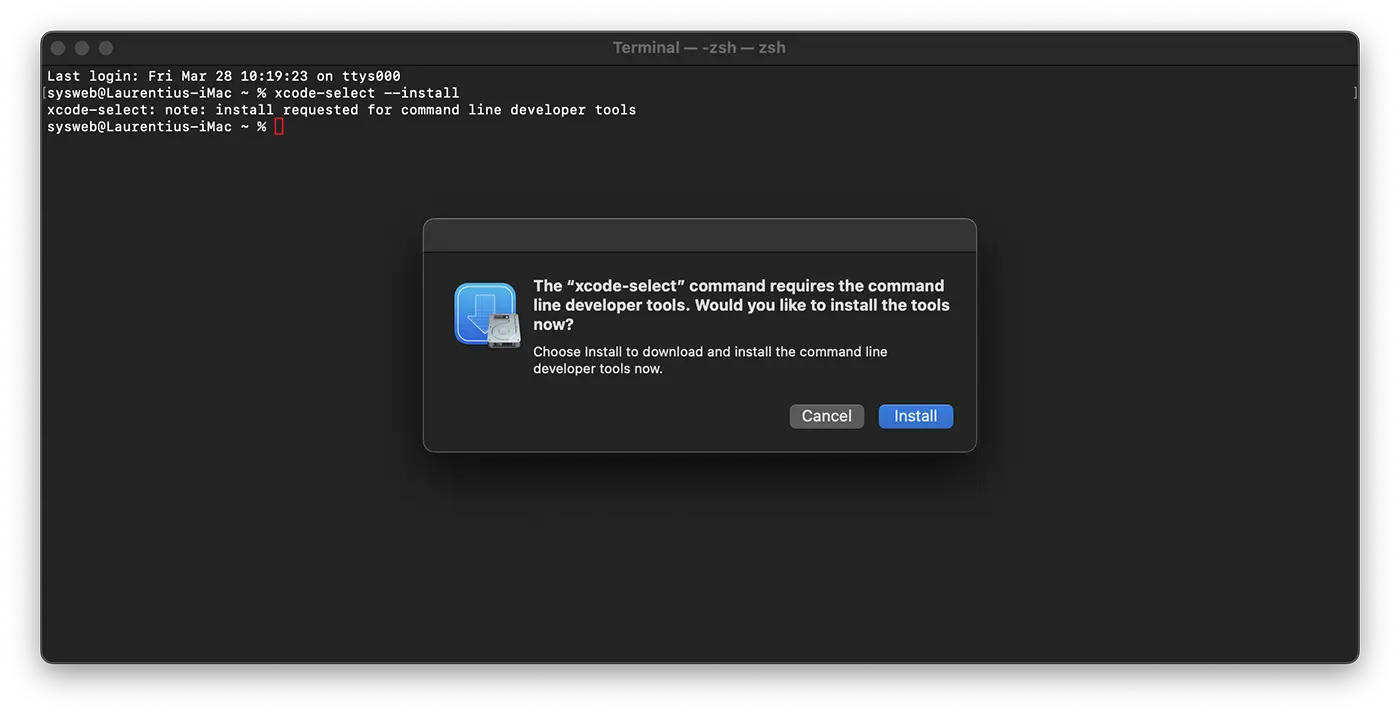
You will receive a notification to start the installation, and then you will be asked to accept a software license. After that, the tools will download and install automatically.
After the Command Line Tools for Xcode is over, you can install Homebrew.
2. Homebrew installation on macos
To install Homebrew, you will need to download an installation script and then run it.
First, download the script on your local computer by entering the following command in the terminal:
curl -fsSL -o install.sh https://raw.githubusercontent.com/Homebrew/install/HEAD/install.sh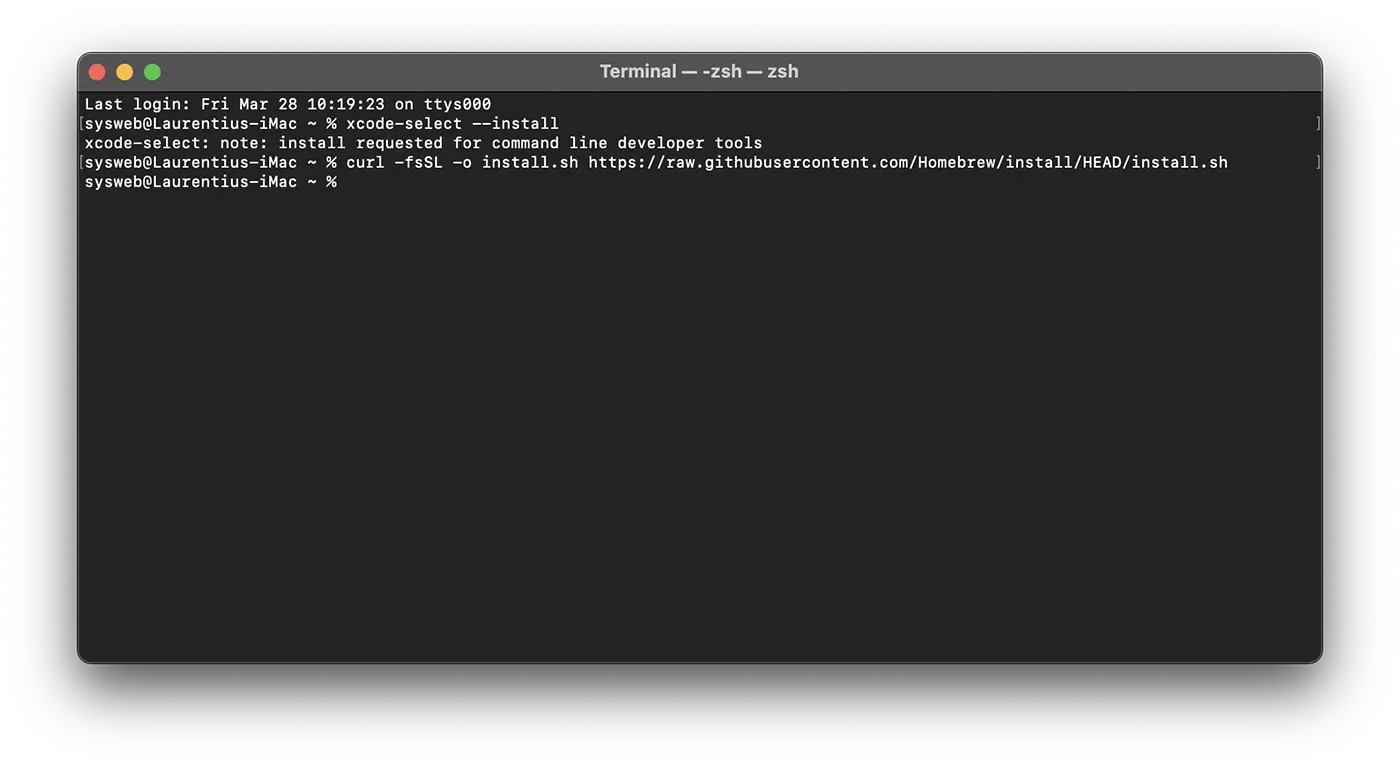
This command uses curl To download the Homebrew installation script on Macos from the Github Git warehouse.
The explanation of the order line is as follows:
-for--fail: The terminal will not display HTML errors in case of problems with the server.-sor--silent: Disables displaying the discharge progress, and together with-Sor--show-errormake sure you will see an error message if something is not going well.-Lor--location: Allow himcurlto follow the redirects, if the requested page has moved.-o: Specifies the name of the local file (in this case, install.sh) in which the downloaded content is saved, instead of displaying on the screen.
If you are good at code, before running a script discharged from the Internet, it is good to check what it contains, to know exactly what it will do. Use the command less To inspect the script:
less install.sh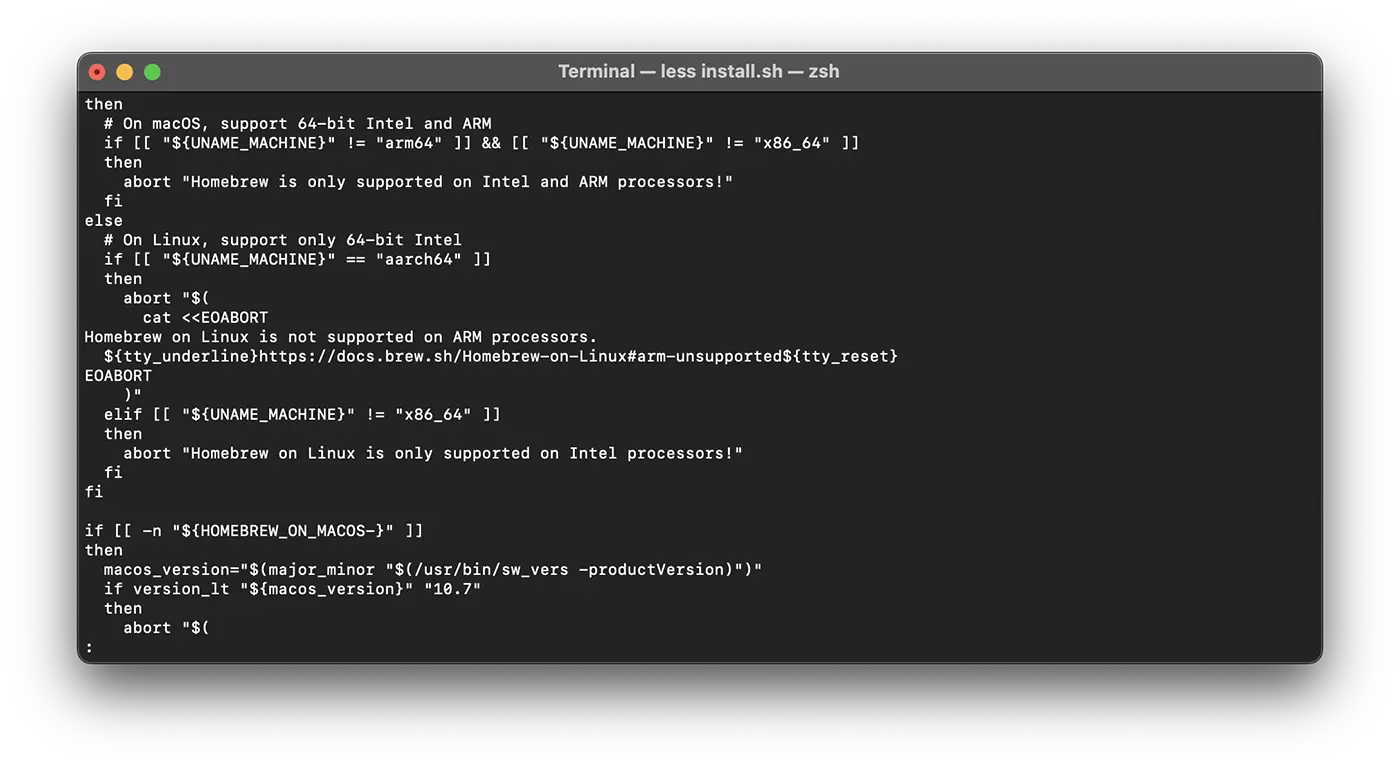
After you have made sure that everything is okay with this script, you can run by executing the order:
/bin/bash install.shBasically, from this point the Homeberew installation will begin. After executing the order you need to enter the user's password with administrator. The following will appear in the terminal:
sysweb@Laurentius-iMac ~ % /bin/bash install.sh
==> Checking for `sudo` access (which may request your password)...
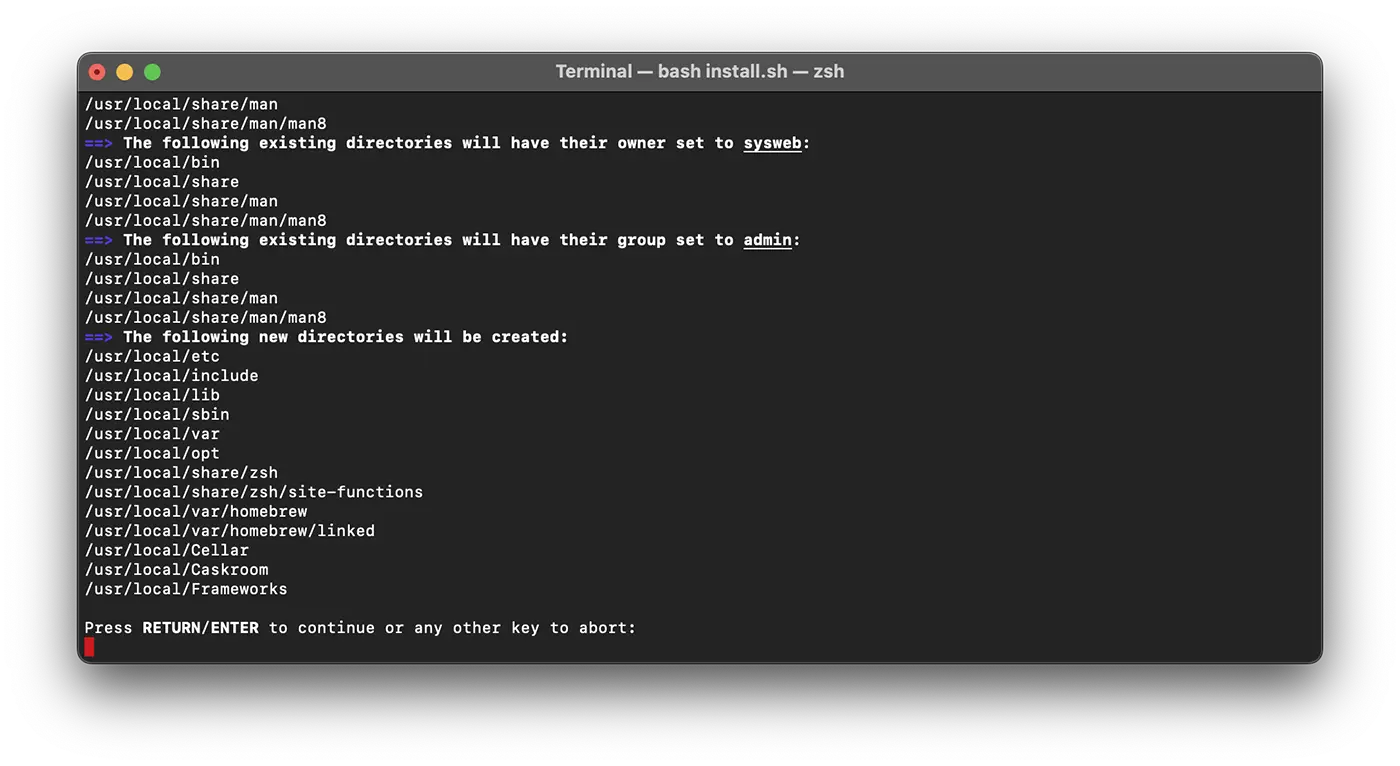
Password:Once you have entered the password, the installation script will explain what you are going to do and ask for confirmation to continue. Thus, you will know exactly what changes will bring Homebrew to your system before letting it. The script also checks if you have all the necessary requirements installed.
Press the ENTER key or return to continue installing.
At the end of the installation process you should see in the terminal something similar to the following lines:
==> Next steps:
- Run these commands in your terminal to add Homebrew to your PATH:
    echo >> /Users/sysweb/.zprofile
    echo 'eval "$(/usr/local/bin/brew shellenv)"' >> /Users/sysweb/.zprofile
    eval "$(/usr/local/bin/brew shellenv)"
- Run brew help to get started
- Further documentation:
    https://docs.brew.sh

sysweb@Laurentius-iMac ~ %
Next, you will need to add the director used by Homebrew for executables in front of the environment variable PATH. This ensures that the tools installed through Homebrew will have priority compared to those implicitly included in the macos.
The file you will change depends on the shell you use. ZSH is the default Shell on Macos Mojave and the newer versions, while Bash It was default on older versions and could still be used if you have updated the system.
To find out what Shell you are using, run the following command:
echo $0If you use ZHS, in the terminal should appear:
sysweb@Laurentius-iMac ~ % echo $0
-zsh
sysweb@Laurentius-iMac ~ %
For users with ZSH, open the file ~/.zshrc with a text editor:
nano ~/.zshrcIf you use Bash, open the file ~/.bash_profile:
nano ~/.bash_profileAfter the file opens in the terminal, add the following line at the end of it:
export PATH=/usr/local/bin:$PATH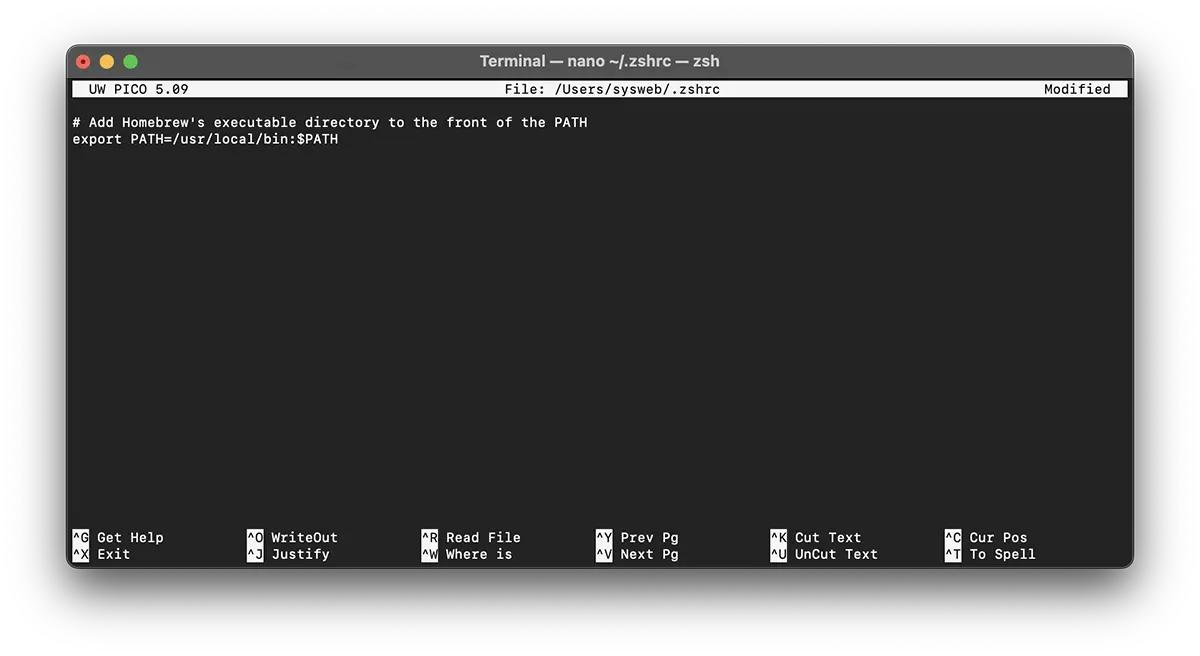
To save the changes, press simultaneously CTRL + O, then press RETURN when you are asked. Get out of the editor by pressing CTRL + X.
To activate these changes, close and reopen the terminal app. Alternatively, you can use the order source to upload the modified file immediately.
source ~/.zshrcor
source ~/.bash_profileAfter you have done this, the changes made to the variable PATH They will enter into force and will be set correctly every time you authenticate, because the configuration file of your shell is automatically performed at the terminal opening.
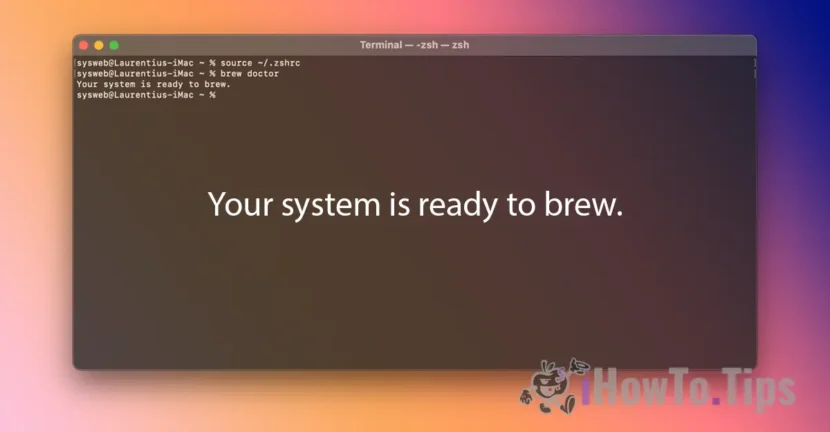
Now let's check out if Homebrew is configured correctly. Runs this command:
brew doctorIf all is okay you will see the following message in the terminal:
sysweb@Laurentius-iMac ~ % brew doctor
Your system is ready to brew.
sysweb@Laurentius-iMac ~ %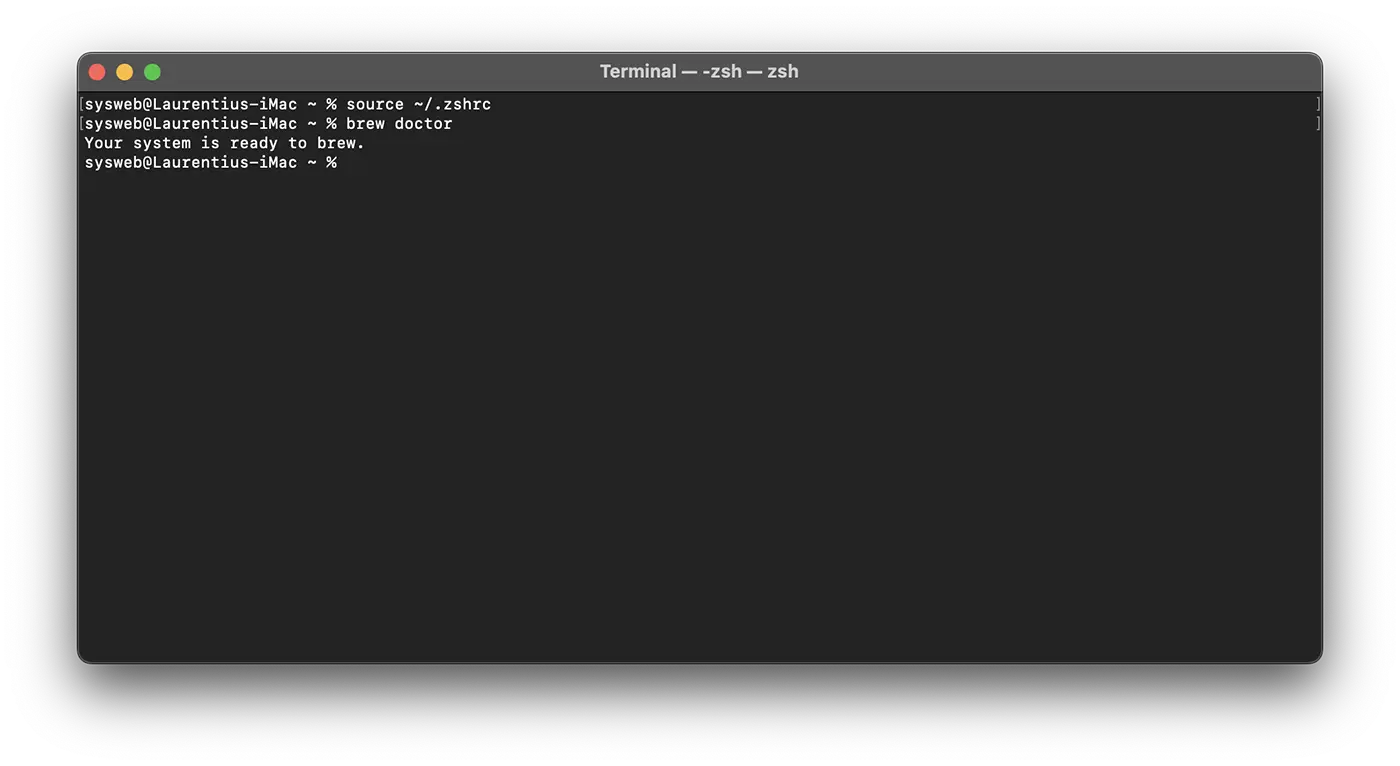
After this step, you can say that you have managed to install Homebrew on Macos.
If warnings appear, you may be asked to run an order likebrew updateto make sure Homebrew is updated.
How to install and uninstall applications with homebrew on macos
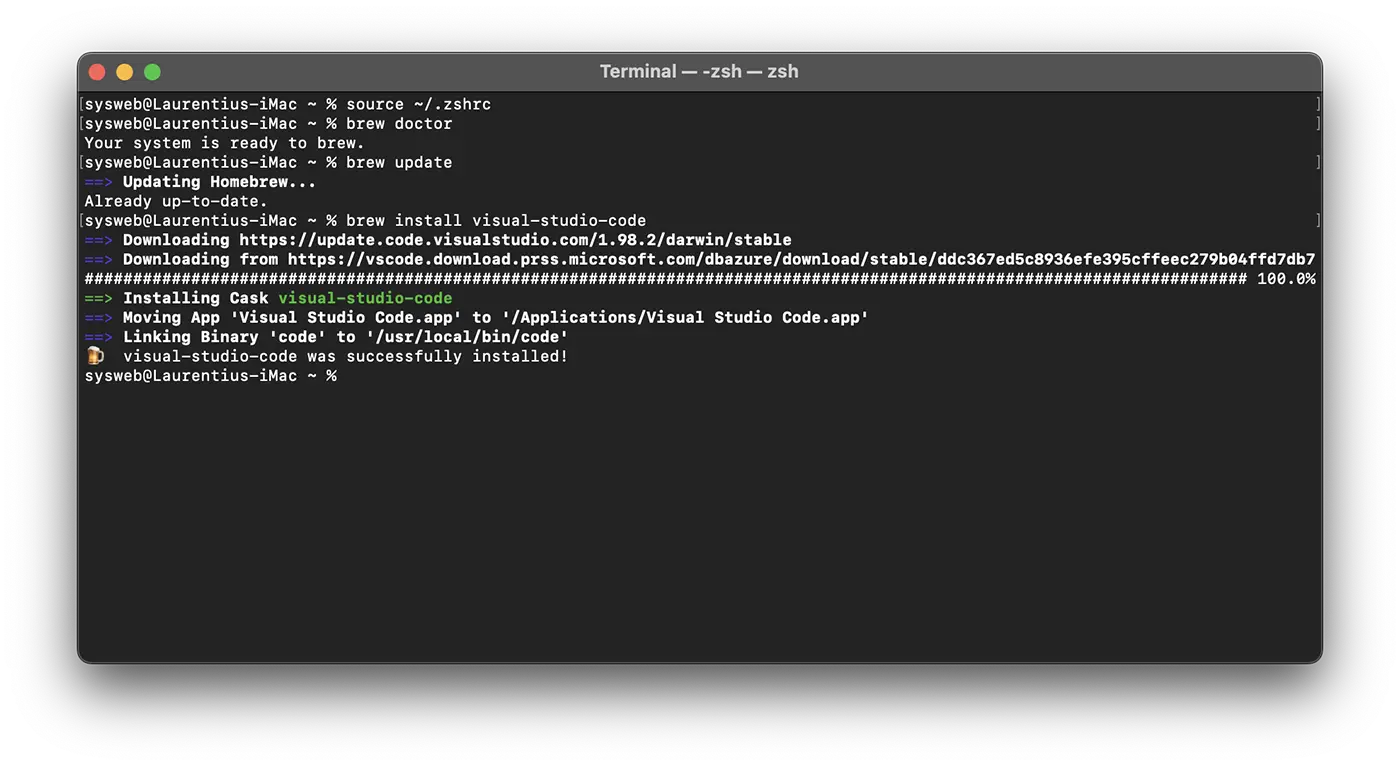
To see how Homebrew works and how easy it is to install and uninstall applications, open the terminal utility and install the Visual Studio Code application.
All you have to do is execute the command line:
brew install visual-studio-codeAfter executing the command line, the Visual Studio Code application will be installed in a few seconds.
If you want to uninstall an application with Homebrew, it's very simple. For Visual Studio Code, execute in the terminal utility the command line and enter the system of the system user when requested:
brew uninstall visual-studio-codeIn the output it will appear:
sysweb@Laurentius-iMac ~ % brew uninstall visual-studio-code
==> Uninstalling Cask visual-studio-code
==> Removing launchctl service com.microsoft.VSCode.ShipIt
Password:
==> Backing App 'Visual Studio Code.app' up to '/usr/local/Caskroom/visual-studio-code/1.98.2/Visual Studio Code.app'
==> Removing App '/Applications/Visual Studio Code.app'
==> Unlinking Binary '/usr/local/bin/code'
==> Purging files for version 1.98.2 of Cask visual-studio-code
sysweb@Laurentius-iMac ~ %
Conclusion
In this tutorial, you have installed and configured Homebrew on your Mac. From now on, you can use Homebrew to quickly install command line tools, programming languages and other utilities to help you to develop software.
Homebrew offers a wide range of packages you can install. VISITS The official list to search and discover your favorite programs.
Related: How do you find the exact model of the CPU on Mac - Terminal Commands
Succes!