At the WWDC 2021, Apple has launched the iCloud+ subscriptions that come with the Private Relay feature (Limit IP Address Tracking). Defitably, this privacy option is activated on the Apple devices on which an Apple ID with iCloud+subscription is authenticated, but if you do not want to use it, in this tutorial you see how you activate or disable private relationship on MAC, iPhone or iPad.
First of all, it is good to understand what this feature is useful to and how it can protect you privacy when browsing the Internet or sending emails from Mac, iPhone or iPad.
Table of Contents
What is icloud private relay or limit ip address tracking and what helps?
When you browse the Internet, information such as your IP address and DNS records are visible for both your Internet provider and for the administrators of the site you visit. This data can be used to identify your location and build a detailed profile of your online activities. This data is most often used for marketing campaigns.
Icloud Private Relay (or Limit IP Address Tracking) is designed to protect privacy, assuring that when you browse the Internet with safari, nobody (not even Apple) can see who you are and what sites you visit. When the function is activated, web traffic goes through two secure relays, called relays. The first relay, managed by Apple, has access only to your IP address, and the DNS records are encrypted, so no information about the site you want to access is revealed. The second relay is operated on by a third-party content provider and generates a temporary IP address and connects you to the desired site, thus protecting your identity and activity online.
How do you activate or disable private relay on Mac, iPhone or iPad.
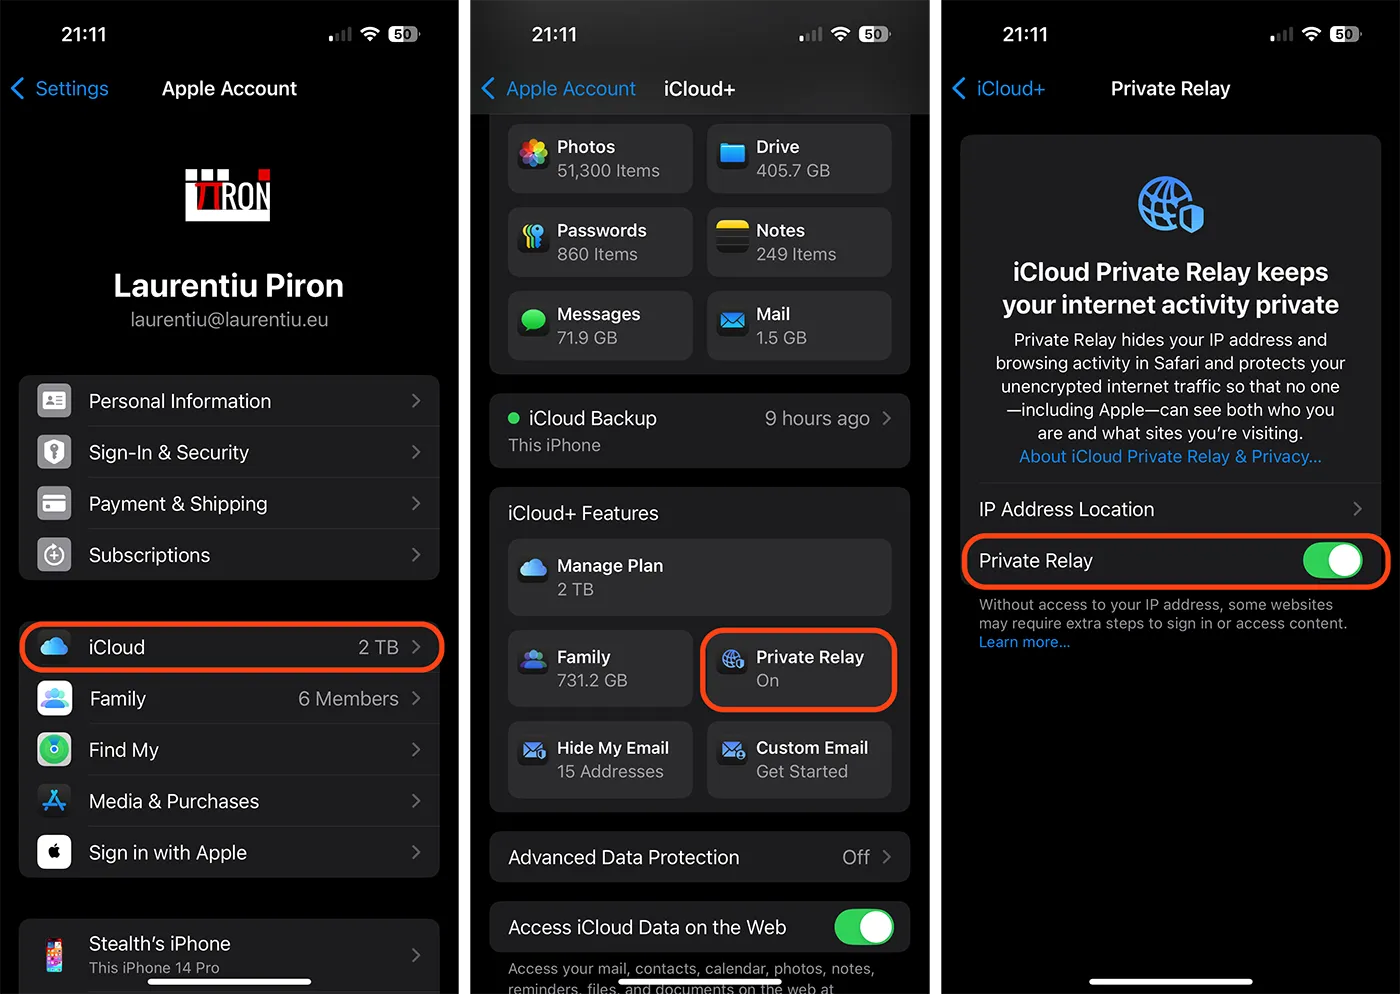
For iPad and iPhone devices, activation or deactivation of private relay is done following the steps below:
1. Accesează aplicația de setări, apoi apasă pe numele de utilizator (în partea de sus), apoi pe iCloud. (Settings > [numele tău] > iCloud).
2. In the iCloud settings, under icloud+ features megi in private relay.
From here you have the opportunity to activate or deactivate the private relay option on devices with iOS or iPados operating system.
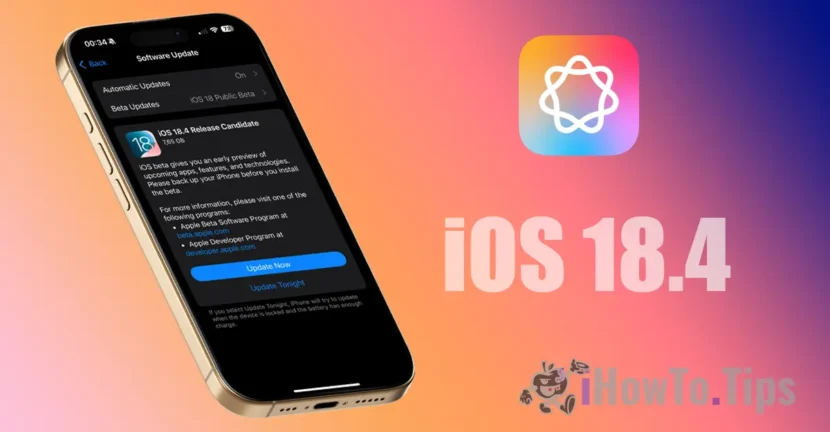
The screenshots below are made on the iOS 18 operating system, officially launched with iPhone 16.
Also, ICLOUD PRIVATE REZEY can also be activated or deactivated for the Wi-Fi network to which the device is connected. At the network settings to which the device is connected, this option is called "Limit IP Address Tracking".
How do you activate or deactivate limit IP Address Tracking for Wi-Fi connections on iPhone or iPad
If you want to activate or disable Limit IP Address Tracking for the Wi-Fi connection, open the application settings on iPhone or iPad, then go to Wi-Fi and press on the blue sign "I") next to the network to which the device is connected. Check "Limit IP Address Tracking" for activation or disabling.
If you choose to deactivate the "limit IP address tracking" from the Wi-Fi connection settings, ICloud Private Relay will automatically disable.
How do you activate or deactivate limit IP Address Tracking for MAC connections
For maccos operating system, activation or deactivation of IP Address Tracking for wireless or Ethernet connections, is done in the same way as iOS or iPados. Access the connectivity settings, then activate or disable Limit IP Address Tracking for the selected network.
Related: Private relay. Possible cause of connectivity issues on Mac
As a clarification, "Limit IP Address Tracking" and "ICLOUD PRIVATE relay" are terms used by Apple to describe the same confidentiality protection service and hide your real IP address when browsing the Internet.


1 thought on “How do you activate or disable private relay on Mac, iPhone or iPad."